
 I really enjoy making my own wall art. Not only is it typically cheaper than buying art, but it’s also cheaper and more unique. With our big remodel complete I’ve been on the hunt for cool things for our walls. Hopefully this project is just the beginning! Recently, I was at Barnes & Nobel and found a really cool calendar featuring WPA Poster Art of the National Parks. Standing in the store I instantly knew I wanted to put these beautiful posters on my wall. Combine those posters with some framed paper maps and I’ve got a perfect gallery wall in our family room!
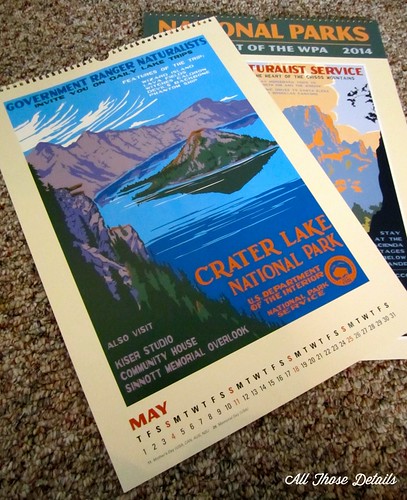
Isn’t the art beautiful?
Materials
- Calendar
- Frames
- Scissors
- Pencil
- Scissors
- Ruler
- Level
- Hammer
- Picture hanging hooks

Details
Measure calendar pages to determine the frame size. For my calendar, I decided that 12 inches x 16 inches would be best. I think that putting up all twelve would be a little much, so I picked the six posters for the family room wall.
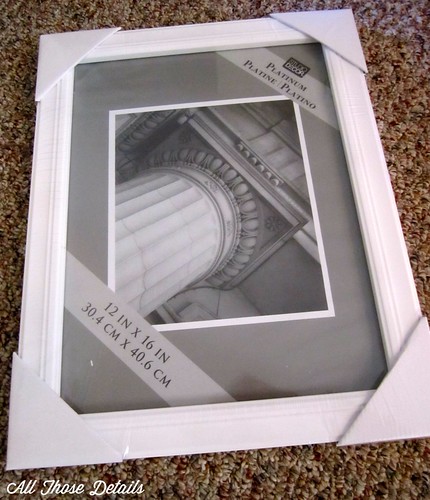
Next, I carefully cut away the small calendar section and part of the margins, so the poster would fit to the frame. Finally, I assembled the frame (and repeated 6 times!)
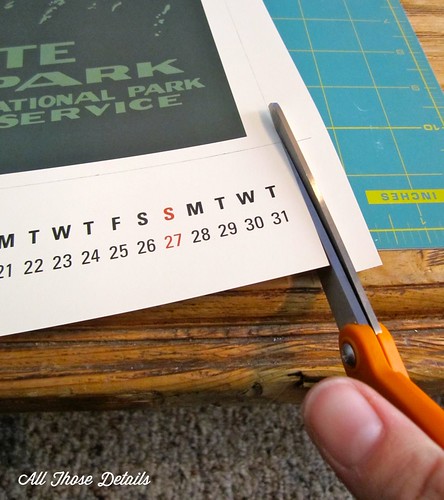
One done, five more to go!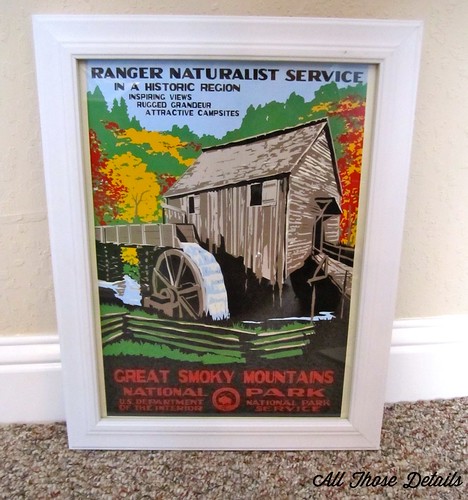
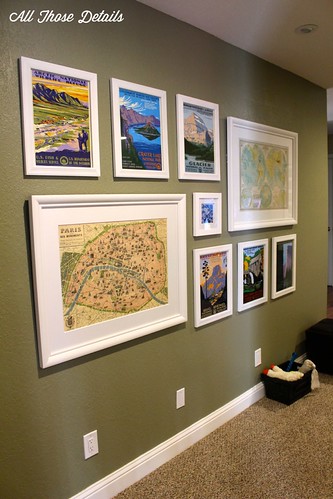
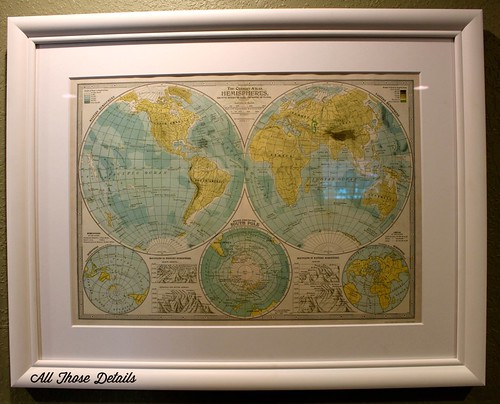
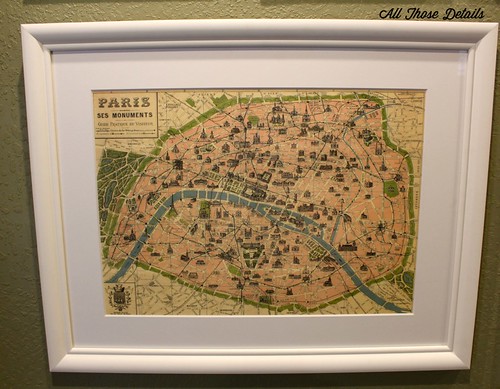
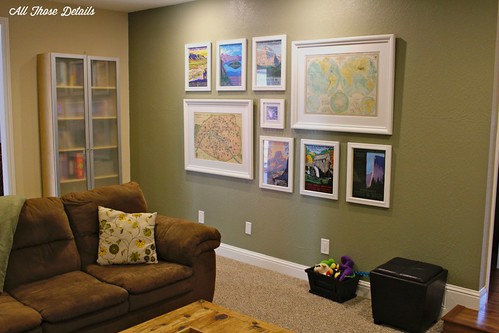
Now for the fun part, deciding on the layout! I’m pretty sure I tried 15 different layouts on the living room floor (and of course forgot to take pictures of them). Eventually I decided it would be best to mix up the frame sizes, so I included some other DIYed wall art. Both of the big posters below are actually paper sheets from the Paper Source. The Paper Source has a bunch of really cool paper that could easily be framed. I had these framed professionally at Michaels, since they are fairly large. The world map is one of my favorite art pieces in the whole house.
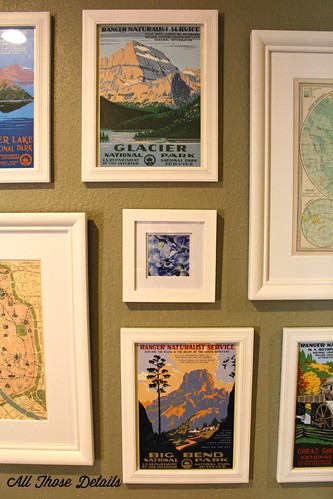
It took me a really long time to figure out how to line up that little guy in the middle!
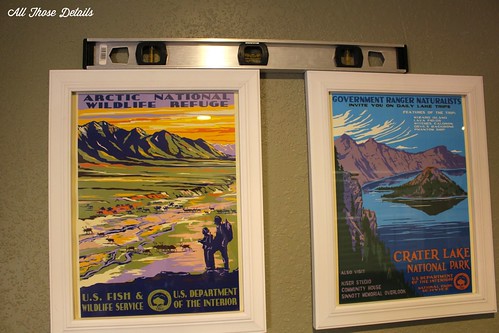
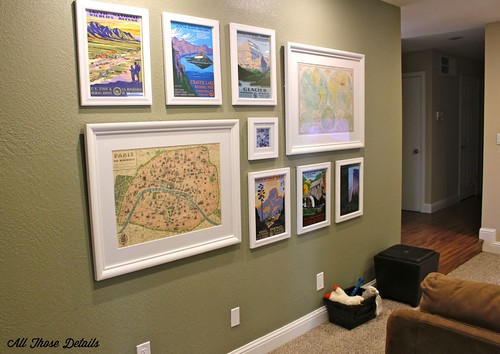
I decided to space each frame 3.5 inches apart, and as you can see on the right, the small frame in the middle lines up perfectly with the outer edges of the frames above and below it. It took a lot of adjusting before I reached this point! The small frame in the middle still has the picture that came with the frame, but I’ll probably change it to a picture we’ve taken on one of our trips. After I had the layout perfected on the floor, I measured the total dimension of all the frames as one big area. Using those measurements I determined the actual placement on the wall. I centered the grouping from top to bottom, and shifted the right to left layout to the right about six inches, to accommodate a bookshelf on the wall to the left.
I started at the top left and worked my way to the right. I’ve numbered the order in the picture below. The first three were pretty easy, and once I had those established it made it much easier to get the others up in the right place.
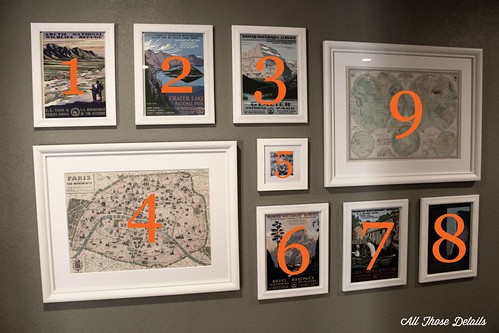
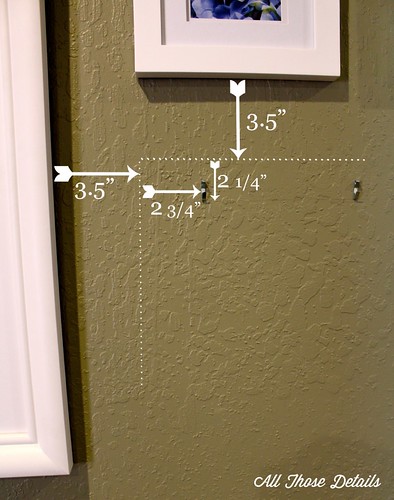
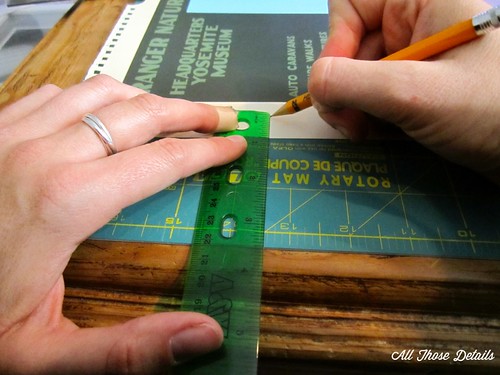
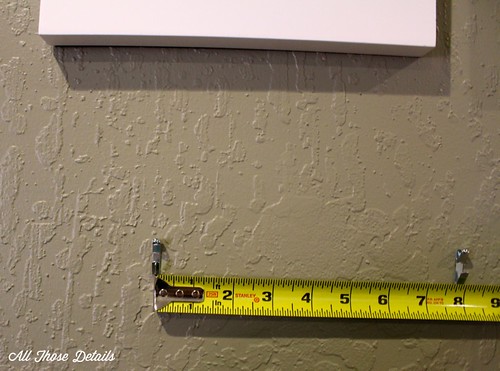
After hanging the first picture, I used the level to mark a line where picture #2’s hooks should be. Then I used a measuring tape to measure the 3-1/2 inches from the edge of picture #1, plus the 2-3/4 inches from the edge of frame #2 to the location of the hook. Having two hooks on each frame made this take SO long! I have to say the process was pretty tedious (but totally worth it)! I tried to draw out how I did the math to the left. For the National Park poster frames, each frame was identical, so i measured the distance between hooks, and from the hook to the edge of the frame. I used this measurement (7-5/8 inches) to to easily nail in both hooks before trying to hang the frame.
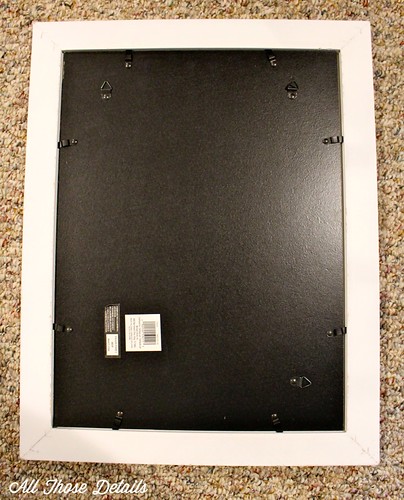
Those little triangle hooks kill me! Two perfectly placed hooks for every frame? Oh boy.
Obviously I had already nailed in the second hook, but pretend it’s not there… I measured the 7-5/8 inches from the first hook to the second hook, used to level to ensure the mark was in the right place, and marked exactly where the nail needed to go.
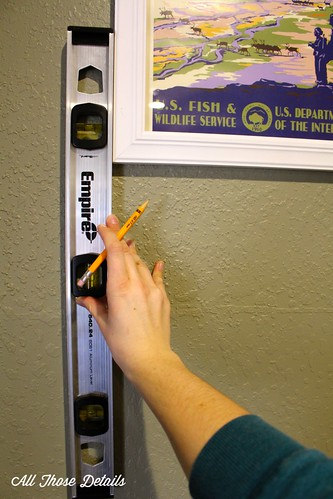
Line up the level…
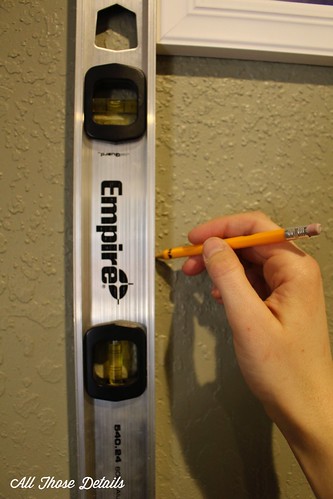
…and draw a line
After the first three frames were up, I used the level to make a straight line to mark where the big Paris map needed to line up. After hanging each frame, I checked to make sure it was level, and also stepped back to see that it looked right. It’s important to get each frame just right before moving on to the next, or else all the rest will be off. There were a few that weren’t quite perfect, so I had to take the frame down, adjust the hook, and rehang the frame.
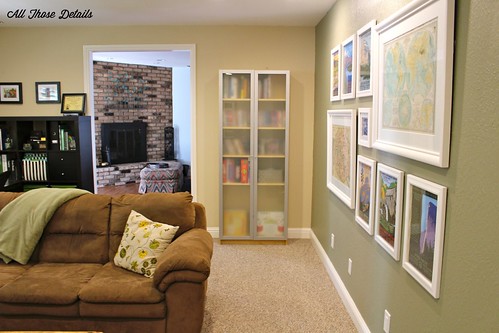
Was it a little tedious? Yes. But in the end, I’m so happy with how it my gallery wall looks. I feel like it really pulls the room together and helps to make a nice cozy environment.
My calendar wall art DIY was so successful that now i’m always going to be on the lookout for calendars to frame. I still have a big wall to decorate in the kitchen!

Sure makes a big impact. Looks great!
Thank you! It’s nice to fill up that wall a bit. (Ha! and at first I didn’t realize this was you, Mom)
Sarah, this is AWESOME! I love this!