
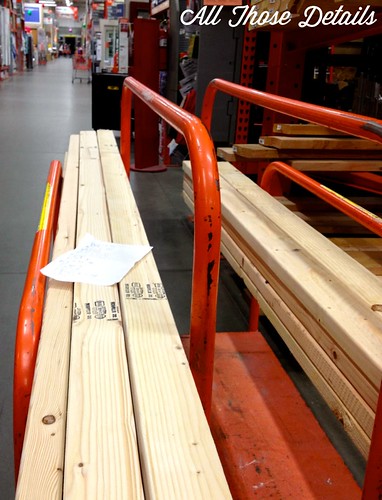
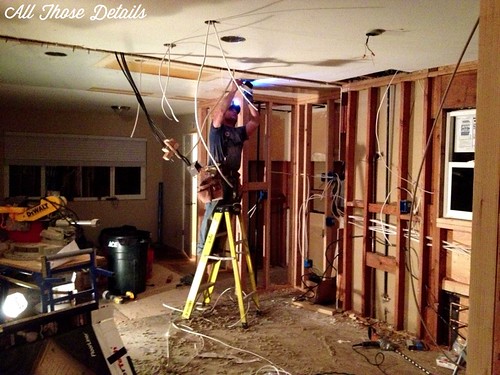
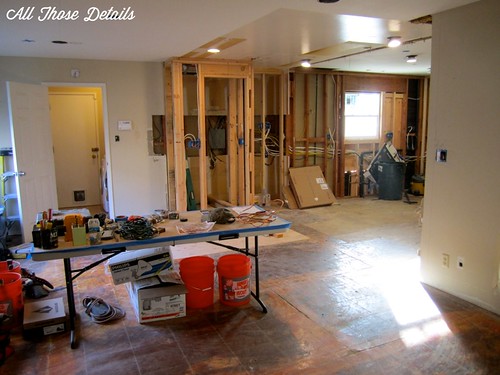
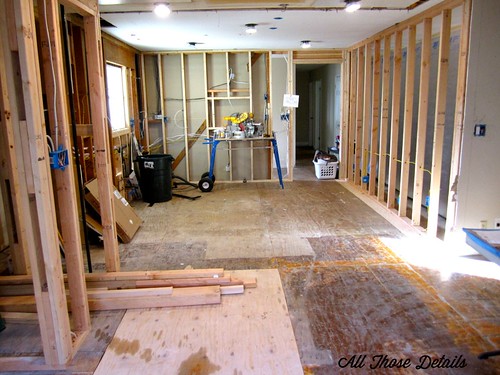
The kitchen is slowly humming along and we’re now starting to build it back up. Rough construction includes framing, utility installation and other things that will get covered up by the “finished construction” phase. To get all this done on the weekend, we’ve been spending every Friday night at Home Depot.
As we get into this phase, the trade knowledge necessary to keep things moving is increasing. This means sometimes its easier for The Boyfriend to do things either by himself or with a friend who is also skilled. I’m a quick learner but we’ve realized where I can be most helpful is to be the “Logistics Officer” (we’ve definilty taken too many incident command classes). I’ve been picking up and dropping off rentals, making phone calls, running errands and making sure everyone gets fed and takes breaks. I’ve also been the lead sweeper/cleaner-uper, and hander-of things (especially into the attic or crawlspace). Of course i’m still assisting with the physical work a lot too, but dividing the work this way seems to be working out pretty well.
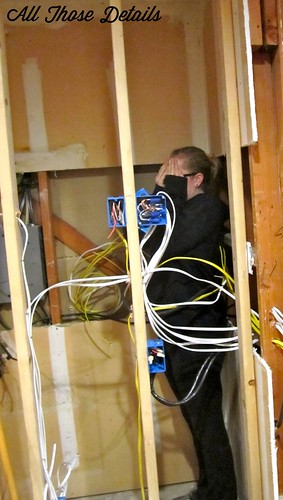
Aren’t I great at handing things into the attic? Look at that technique!
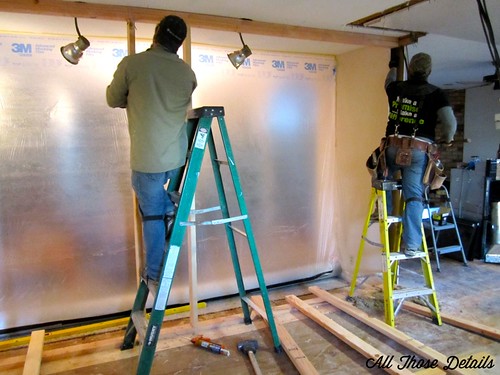
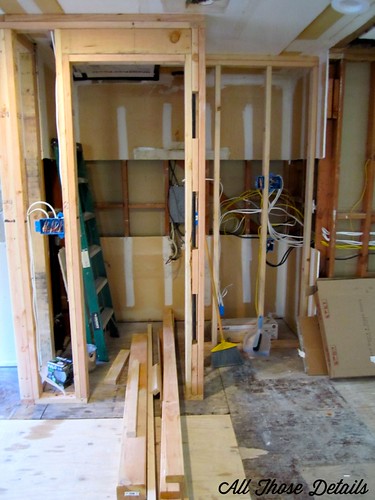
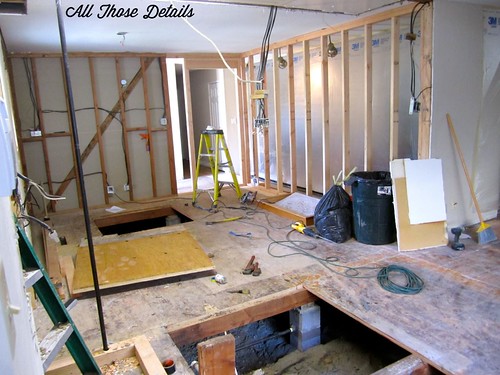
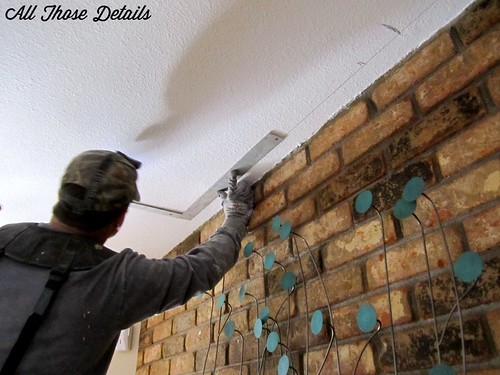
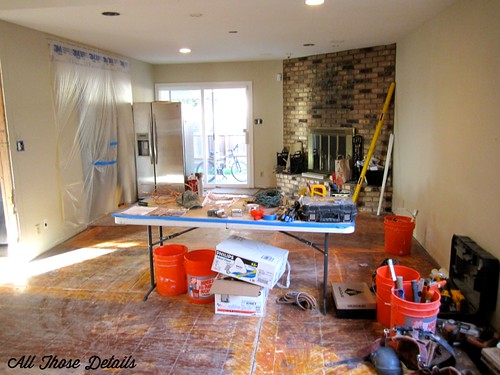
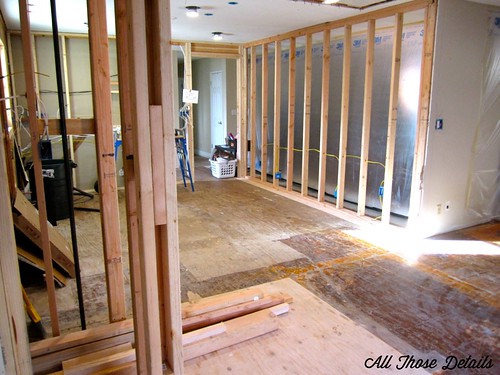
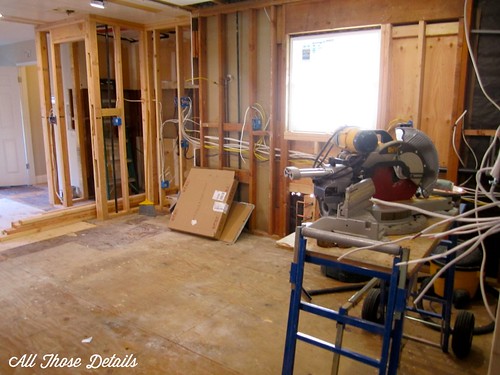
Below are pictures of our rough construction process. As you’ll probably notice, each step completely destroys the house. Then we clean up, make it all tidy until the next weekend when we can destroy it again. Can you see the plans taking shape?

In order to make the fridge counter depth, we’ll be tucking the fridge back into the old kitchen space a bit. That leaves us with a strange L-shaped pantry. I’m pretty sure that if we leave the space behind the fridge open things will just get lost because it’s so narrow. We’ll be blocking all about half of it off and creating a dead space.
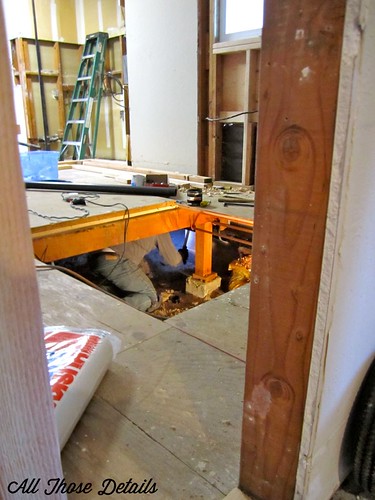
 Or, should we create a safe room? You can’t see me, can you?
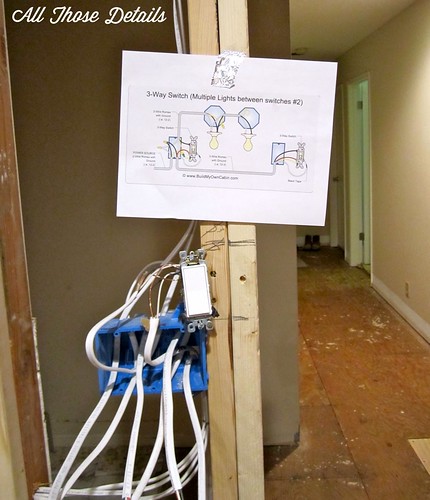
Opening up the floor made it much easier to install all our utilites. At the same time, it made the house a total mess. This is one of the “cleaner” messy weekends!
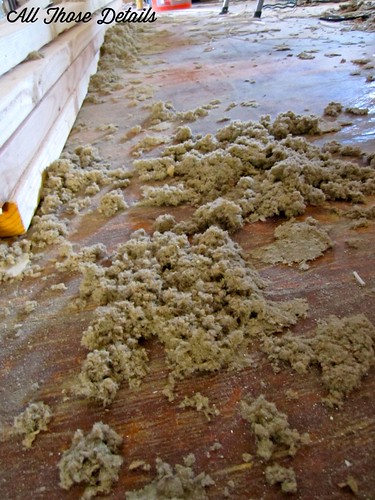
 We have cellulose insulation in the attic. It gets EVERYWHERE and it turns into tiny dust particles that you can’t ever pick up. My allergies have been on overdrive!
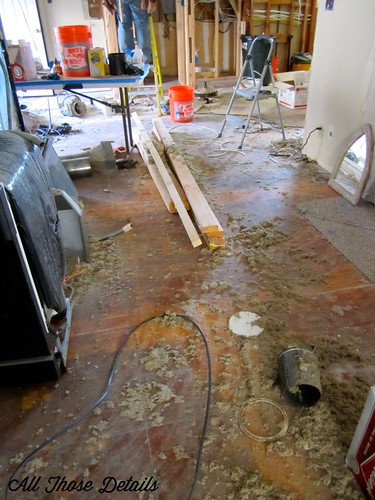
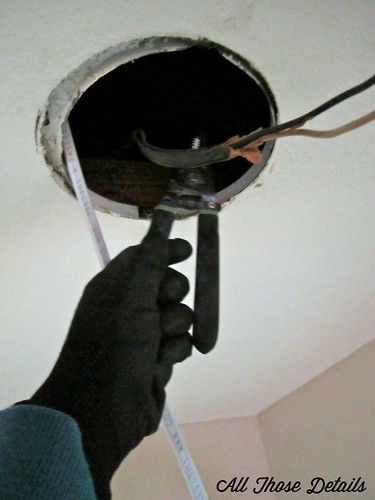
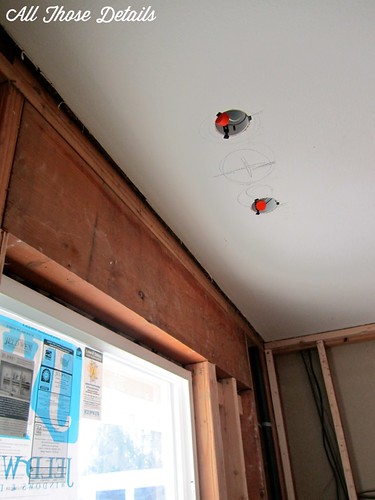
 One of the only overhead lights we liked in the house were old recessed lights that pointed at the fireplace. We’ll be replacing these with more efficient models, but keeping the same idea. Everything else will be new.

Pingback: Tomato Sauce from Scratch (or not) | All Those DetailsAll Those Details