
 We’re finally starting to see the end of the tunnel on our kitchen remodel. Well, really at this point it’s more like a half-house remodel! At the last update, we had just finished framing walls and installing utilities. Next we installed insulation, sheetrock, mud & taped, textured, and prepped the floor. All of that was a little bit of an adventure, but then we get to the stuff that really starts to bring it together – floors, paint & lower cabinets! Below are pictures, with a more detailed explanation each step of the way.
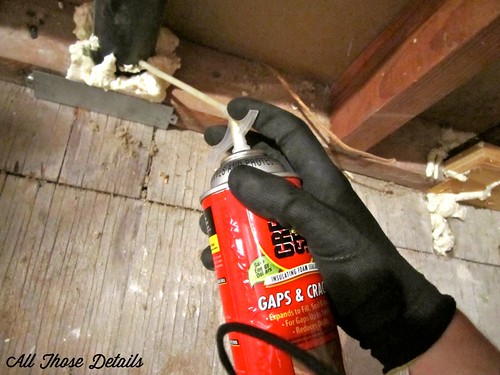
Before we could do anything else, it important that we filled our the little cracks and openings in the floor and walls. We’ve had mice get in before, so I wanted to make sure that never happens again!
 Next is insulation! There isn’t any insulation in the walls so we used R-14 in all the exterior walls to help make our house a little more energy-efficient.
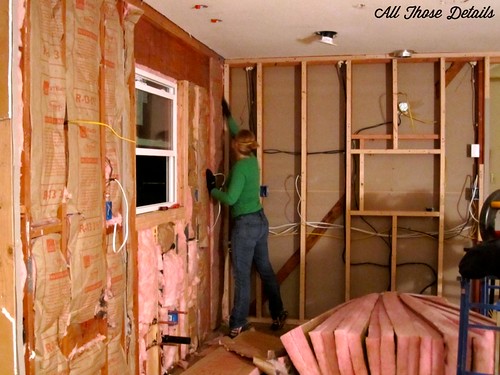
All those years of ballet has paid off – I’m great and reaching to install insulation!
Next up is sheetrock! The Boyfriend hung sheetrock while I followed and screwed it in. It was a LOT of screws! This was definitely NOT my favorite. However, we did buy a sheetrock screw gun, which made it much easier.
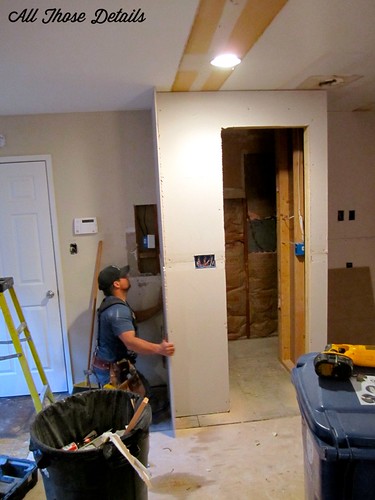
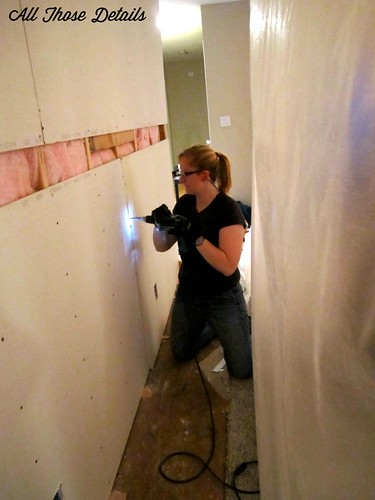
Much of this work happened at night after work, as you’ll notice by the shadows and dark windows. We have been trying to get a little done every night. (shout out to all our friends we haven’t seen in a while!)
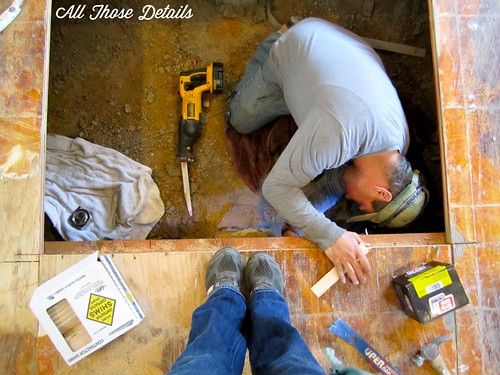
 Once the walls were prepped, it was time to start on the floor. Our floors had sunk a bit between floor joists, creating a wave effect. It wasn’t bad enough to cause sea-sickness, but it would have ruined anything we tried to put on top of it. For smaller bumps, we used our belt sander to level it out. The larger waves resulted in cutting holes in the floor, and cutting down the shims that were under the floor joists. This allowed the joists to settle down just enough to bring the floor back to level(ish). In the picture below, I’m “holding-down” the floor/joist while The Boyfriend cuts out some shims.
 Finally, the floor was level enough to start the flooring. Several rows will be straight from one end of the house to the other. We started with one of those to make sure it was straight, and will work off both sides. We’re installing a 12mm laminate with pre-attached underlayment.
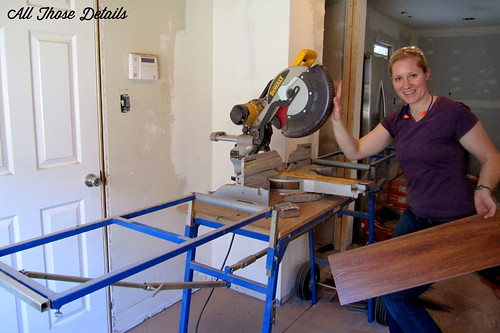
Once we figured out how the flooring worked (it was supposed to “easily snap together” – HA!), I worked the saw while The Boyfriend laid the flooring down. I hadn’t really used a compound miter saw before, but I have to say I enjoyed it.
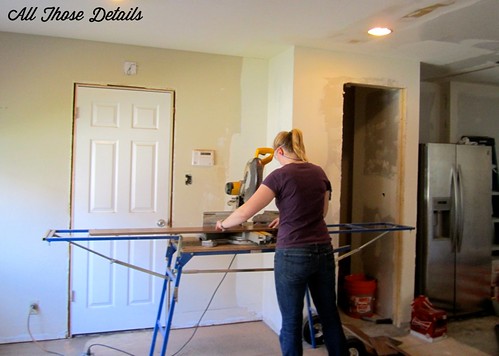 My new friend, the compound miter saw (aka Chop saw). I shall name him, “Jerry”.
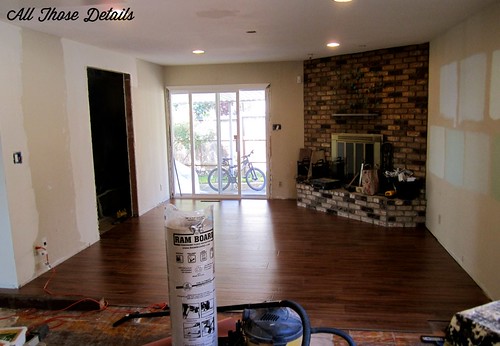
Family room flooring is DONE! At this point, I’m calling the flooring 2/5 done.
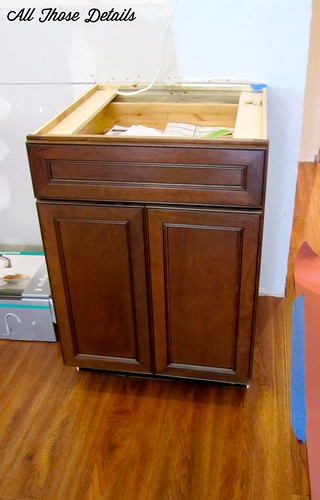
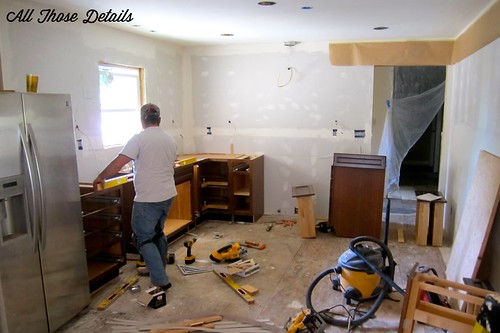
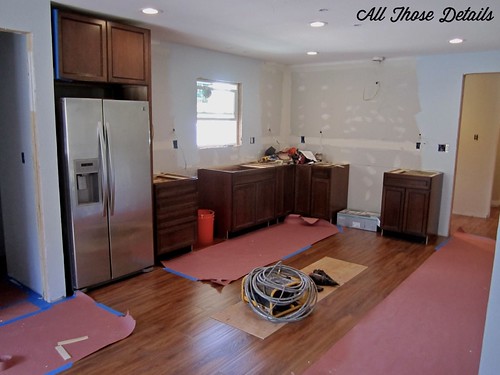
After getting the family room flooring done, we realized that because the floor is a “floating floor” we really shouldn’t be installing the cabinets on top of the floor. So, before continuing the flooring we had to get the lower cabinets in. It was so great to finally pull them out of their boxes, they turned out great!
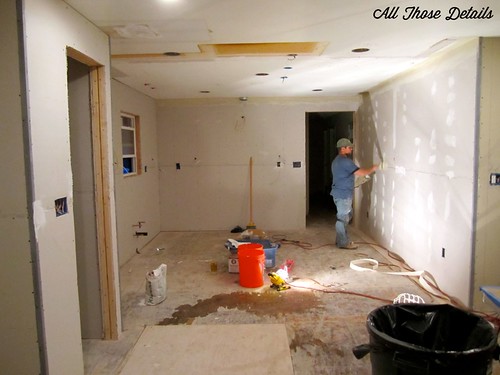
Next is wall texture. We hired someone to do this for us, since it’s really out of our expertise and it’s something we’ll have to be looking at forever. I had to cover EVERYTHING (the guy was great, but messy!)
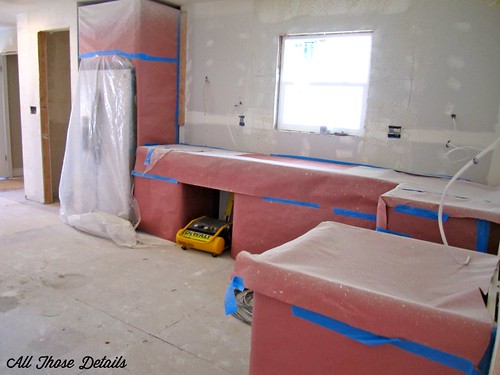
While we had texturing done, we made some final decisions like pendant lights, paint color, floor vents, and some other miscellaneous things. I’m definitely suffering from decision fatigue and am starting to understand the benefits of hiring a designer!
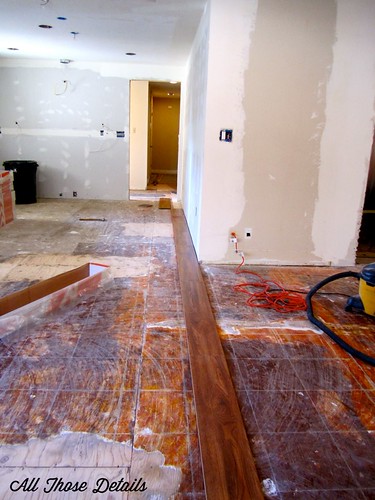
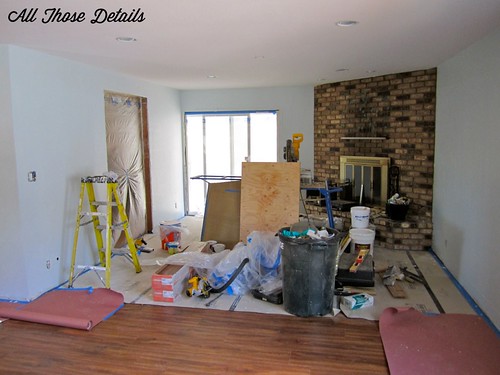
We spend two full days finishing the flooring. It looks great, but we both so sick of the installation process by the time we were done! The plywood rectangle in the middle of the picture is where the island will be. The next day I painted the first coat, of paint (“delicate mist” by Behr).
It’s easier to see the paint color here. A nice gray-blue that will coordinate with our tile. Doesn’t our dated fireplace “pop” now? Ugh, I’d love to re-do that too, but that will have to be a separate project.
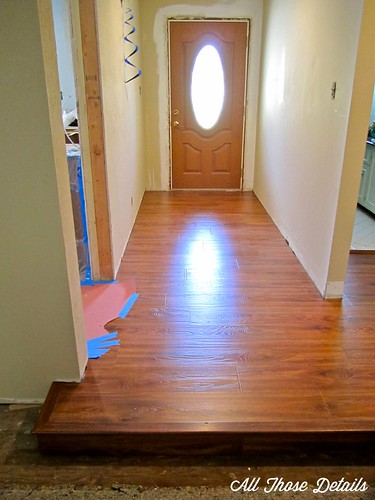
Here’s the finished entryway flooring with the beautiful step into the living room. If you’ll remember, before the step curved into the hallway. I really, really hated that stupid step; I’m so glad it’s gone!
Our next step will be a second coat of paint, installing the upper cabinets and the island. The living room (also used as dining, office & exercise space) is still a little plastic bubble.
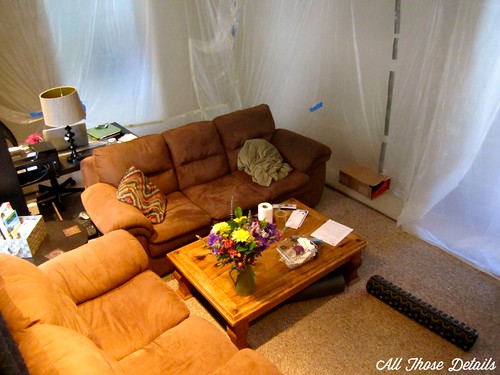
One of the best motivators for me is to get closer and closer to taking all the plastic down and get our space back. I. Can’t. Wait.
Ok, now off to touch up some paint!
