
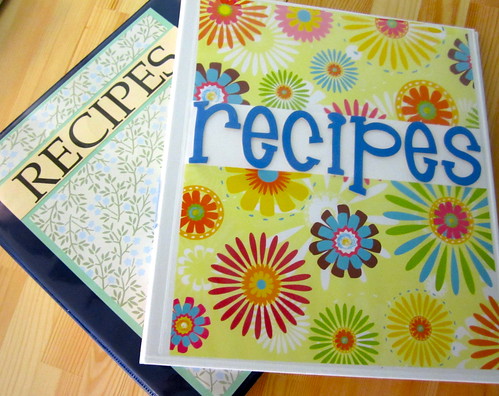
Whew! It’s been a busy couple of weeks! In fact, so busy that I didn’t have time for blog posts, the gym, or dusting. And I ALWAYS make time for dusting! One thing that saved me over the past couple of weeks was my recipe binder. My recipes, which are a variety of computer printouts, magazine pages, and 3×5 cards, are all organized and easily found. No more overstuffed little recipe box for me! Here’s how to make one for yourself…
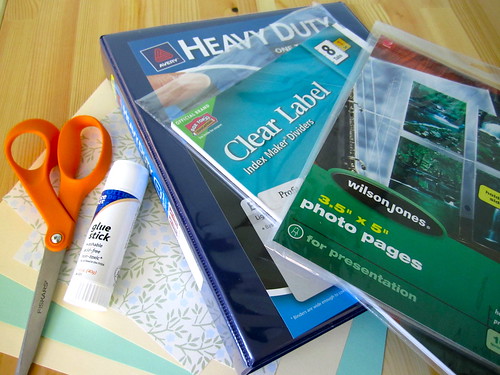
Most of this can be found at your local office supply store
Materials
- Binder (start with a 1.5 or 2″) – with clear pockets on front and side
- Dividers
- 3×5 page sheets
- Hole Punch
- 8.5×11 “Fun” paper – one or two sheets (look at the scrapbooking paper at your local craft store)
- 8.5×11 “Plain” paper – two sheets (solid color cardstock is good)
- Glue Stick
- Scissors
- Craft Knife
- Ruler
Time – 2 hours
Difficulty – Easy – Kids can help too
Details
- Remove stickers and any inserts from the binder
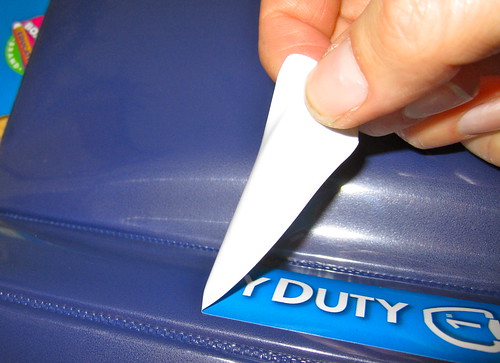
Sometimes it’s easy…
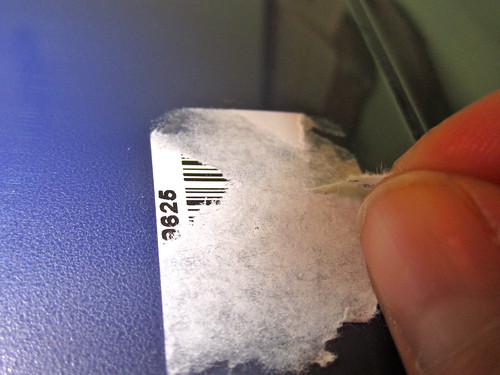
And sometimes…. Garrrrr!!!!!
- On the computer (or draw or stencil it if you are artsy), open a “Word” type document and write “Recipes” twice. Play around with fonts until you find one you like
- Make one font as large as it will fit across the page on one line, make the other a width smaller than the spine of the binder. Put a extra line or two between these fonts. Print onto your solid color/plain paper.
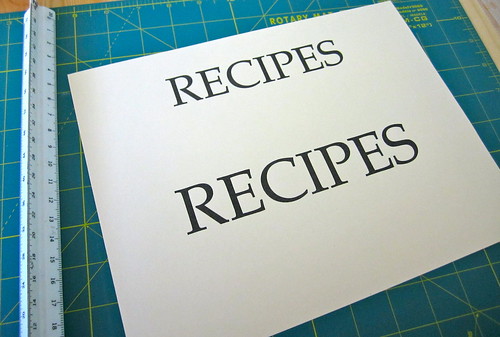
Print in font size that will fit in the spine
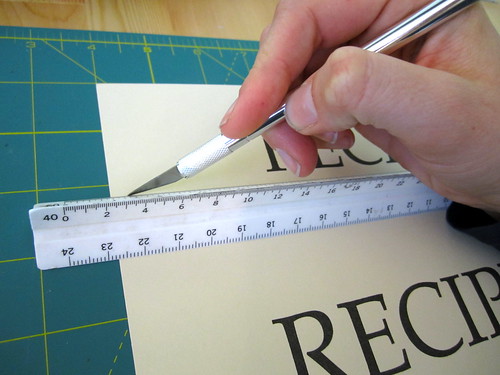
- Cut the “Recipes” into two strips. I used a ruler to make it as straight as possible
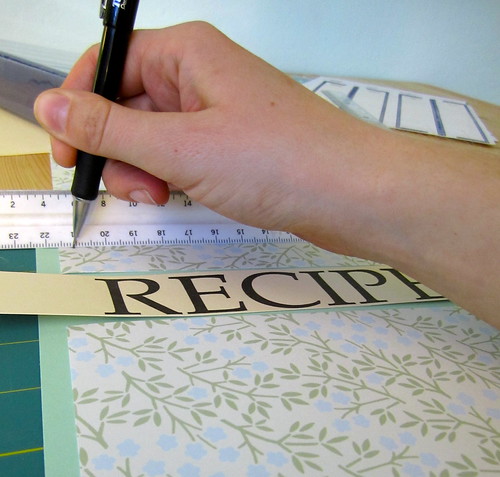
- Get your “fun paper” and get creative! I trimmed the printed paper to fit within the green card stock and then glued the “recipe” label in the center.
- Slip paper into binder pockets (this is easiest if you unfold the binder)

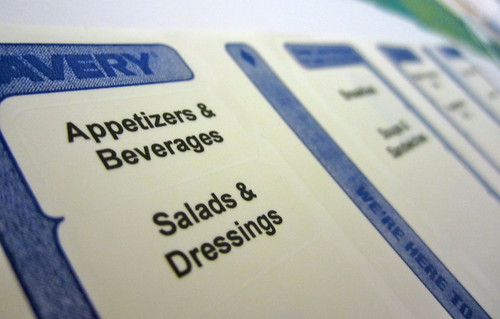
- Use directions included in dividers to print labels. I chose: Appetizers, Breakfast, Meats, Poultry & Fish, Pasta & Grains, Salads & Dressings, Soups & Sandwiches, Vegetables & Fruit, Desserts
- Between each divider, place a 3×5 plastic sheet.
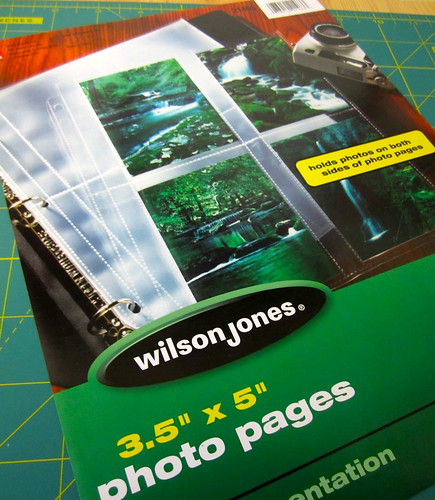
Each sheet will hold 8 recipe cards
- Hole punch recipes, and place in appropriate sections. Slide 3/5 recipes into appropriate sections. Now you’ve got a great place to store all of your All Those Details recipes!
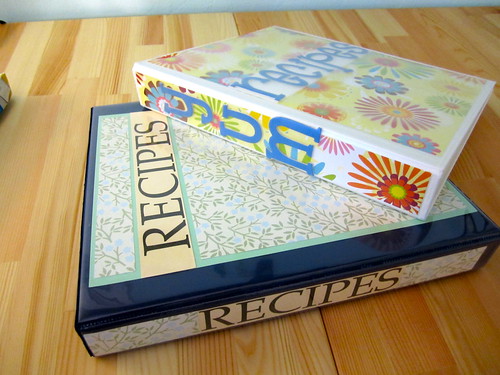
Aren’t they fun?
What my mom also did with her recipes (especially since we had picky eaters in our house) is to list the initials of who liked it and who didn’t (e.g. good-J.M.S, bad-L.). This made deciding what to make for dinner a bit easier. There aren’t enough initals in my house to do that yet, but I do make comments like, “great for potluck”, or “add 1/2 c more flour” as I make and improve them.
How do you organize your recipes?

Great Post! Such a neat and cute way to keep everything organized…
gee… I wonder who L is? 😉
hehe, well she did grow up on mac & cheese!
Pingback: Sour Cream Chicken Enchiladas | | All Those DetailsAll Those Details